Article written for ” Vegan Food and Living” magazine , March 2017 issue
The Raw dessert making trend has taken the world by storm, with millions of recipes available online and in print. An overwhelming amount of beautiful pictures promise a paragon, tempting you to try it out, only to fail for the hundredth time this year. And you just can’t get it right, no matter how simple the recipe seems.
What is it that’s holding you back from creating your own masterpiece that can be proudly presented at a dinner table? More than the recipe itself, an understanding of what makes a perfect cheesecake is your guarantee to making raw cakes like a pro.
You don’t need expensive equipment to make delicious cake, just to be inventive and super patient.
Three things define a great looking and tasting cheesecake: base (the crust), consistency and texture.
Basic cheesecake consists of only two layers, crust that is dry and sturdy base and the soft creamy filling.
Base: You can use any nuts you like to make the crust. Almonds and cashews are the most versatile due to their subtle flavour. Nuts like walnuts and pecans have a distinctive taste and can be overpowering. (TIP: Choose walnuts or pecans to complement chocolate and coffee flavours or to enhance a bland cake). Dates bind the crust together. I don’t advise to soak dates. (Soaked dates can make the crust too wet and unmanageable. The nuts stick together before your dates get the chance to break down resulting in a chunky mixture. Wet and sticky crust is difficult to press). Good quality dates are moist enough to “glue” the base. Although as little as tsp of water is needed to bring your mixture together.
Texture: I love using cashews for the cheesecake filling. Tofu is also a great ingredient. (Once soaked, cashews lose their flavour, becoming perfect to fill a cheesecake when soaked over night in cold water. Cashews are like a sponge that expands in water. Cold water keeps the oils in, making for a creamy texture. Over-soaking makes the filling texture too crumbly. Not soaking enough or in hot water makes the cheesecake too oily and thick. (TIP: soak the cashew at 3-6pm the day before, by the time its 9-10am next day, cashews are at their best.) You can taste to tell if they are ready to be whipped up. Generally, any crunch at all means it’s too early to use them. if they have a slight sour taste, they are over-soaked and no good.
Consistency: The last but not least. Consistency is an important component of perfect cheesecake. It depends on the amount of fluid that goes into your blender with cashews. Fluids are: maple syrup, coconut oil, water or nut milks, any natural extracts, fruit juices, etc. Those together should not exceed cashew level or it will make a floppy cheesecake. I would say total fluid level should be 2-3cm lower than your cashew level (very technical!) if you use powders as flavourings. Total level of fluid should be half way down of your cashew level if you are using soft fruit like raspberries, blueberries, apples and other naturally high in water fruit as flavouring. TIP: ¼ cup of Coconut oil to be used for every 400 g of soaked cashews, less makes the cheesecake collapse.
If you understand these three principles, you can easily make any flavour cheesecake yourself, which will be perfect every time.
Sturdy base and smooth texture that holds well together is what makes a perfect cheesecake. Everything else is up to you: the sweetness, the colour, the flavour.
And here is my recipe for a decadent chocolate cake for your family recipe book: makes 9” cake. It’s simple and inexpensive.
Equipment required: round 9″cake tin, blender, food processor, scales, ¼ cup measuring cup, spatula, large bowl to liquefy coconut oil.
Crust
Almonds 200g
2 tbsp cocoa powder or ¼ cup Cocoa nibs
Dates 200 g
Put your nuts in a food processor and process to fine “meal” like consistency. Add Cocoa nibs or powder through the shoot than dates one by one. Process till your mixture stops jumping inside the food processor and starts to run smooth. Add teaspoon of water through the shoot to stick the mixture together. If required add more water in teaspoon measures. How much water you need depends on moisture level of the dates you are using. TIP: adding dates one by one has a massive advantage. Your crust will be even without any lumps.Press into the form.
Chocolate ribbon
Coconut oil liquefied 40 ml
Maple syrup 20 ml
3-4 tbsp cocoa powder
Combine all together in a small cup until smooth, pour over crust, spreading evenly with a brush, freeze for 5 min.
Cheesecake
It’s better to divide cheesecake ingredients into 2 (more powerful blender) or 3 (blender with lesser power) even batches. Blenders with less power will take longer to process. TIP: Be patient, give your blender a rest every 1-2 minutes so it doesn’t burn out. While its resting, gently stir the filling. Patience is the key when working with low power blenders. It can take as long as 30min to whip up your cheesecake (without rest times). Result will be worth the wait though.
Cashews 600 g
Cocoa powder 6-8 level tbsp. Amount of cocoa powder depends on how strong you want the flavour and rich the colour to be.
Dates 200 g
Coconut oil liquefied 150 ml (1/2 cup)
Maple syrup 150 ml (1/2 cup)
Almond milk 150 ml (1/2 cup) or water
Natural vanilla extract 2 tbsp
Sea salt ¼ tsp
Blend all filling ingredients together in small batches, splitting up ingredients evenly and once satisfied with the texture, pour it into the tin. Even out. Freeze for at least 4 hr before decorating and serving. Decorate to taste.
Enjoy! X
CREDITS: I would like to say BIG thank you to my wonderful friend and a very talented person , Anya who styled and took these beautiful photos. IG @sweetinstafit
https://www.instagram.com/sweetinstafit/?hl=en

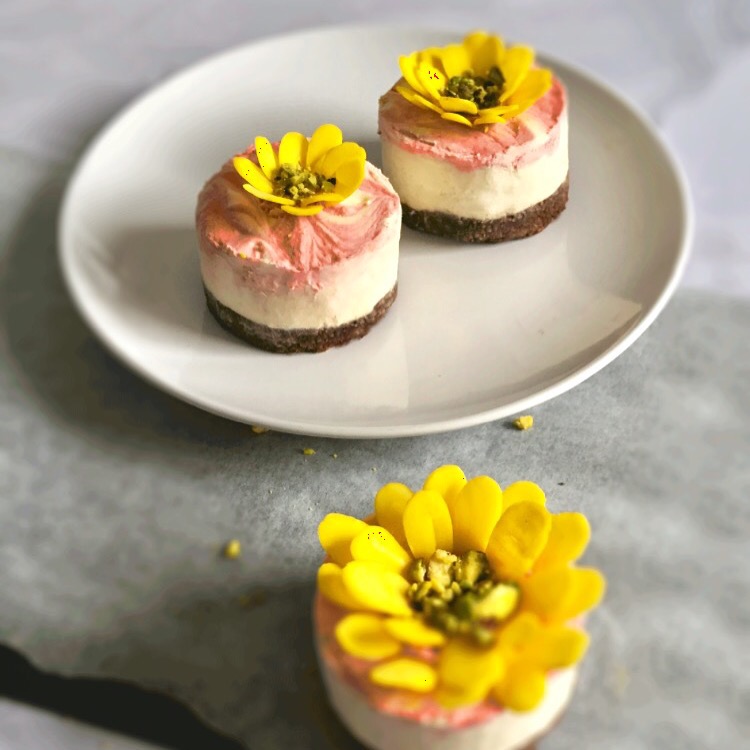 This isn’t my recipe but I wanted to try it out for ages. It’s super easy and quick to make. I’ve made couple of changes like substituting One Earth blend chocolate mix with regular cocoa powder and freeze dried dragon fruit powder with fresh strawberries. It’s a remake of Panacea’s Pantry’s Lemon and chocolate slices. http://instagram.com/panaceas_pantry
 I found an inspiration for this recipe on Pinterest, whilst searching for “The most beautiful cakes”. It captured my attention immediately with its beautiful pastel colours of pinks, greens and whites. I knew then it would only be a matter of time before I make my own version. The cake I’m talking about was created by the
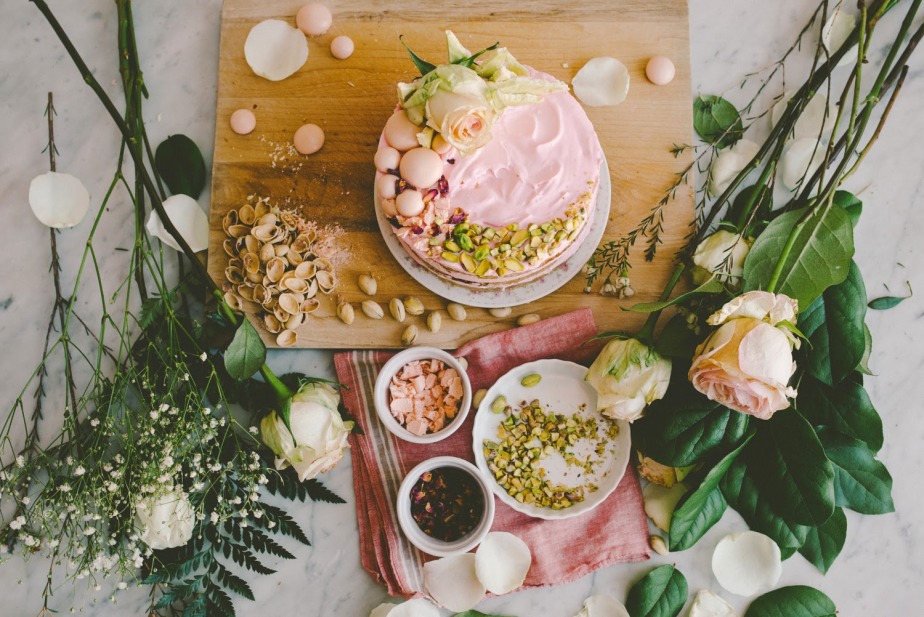

 Why do I give so much leverage with the measurements? Because I believe all recipes should be adjusted to individual taste. I don’t like coconut flavour in my cakes, though I’m addicted to fresh coconuts and coconut water. But some of you might. The thing you need to know about coconut flour- it sucks up the moisture, A LOT!